IN-DEPTH TECHNICAL DIVE INTO METRO EXODUS PC ENHANCED EDITION
OUT NOW!
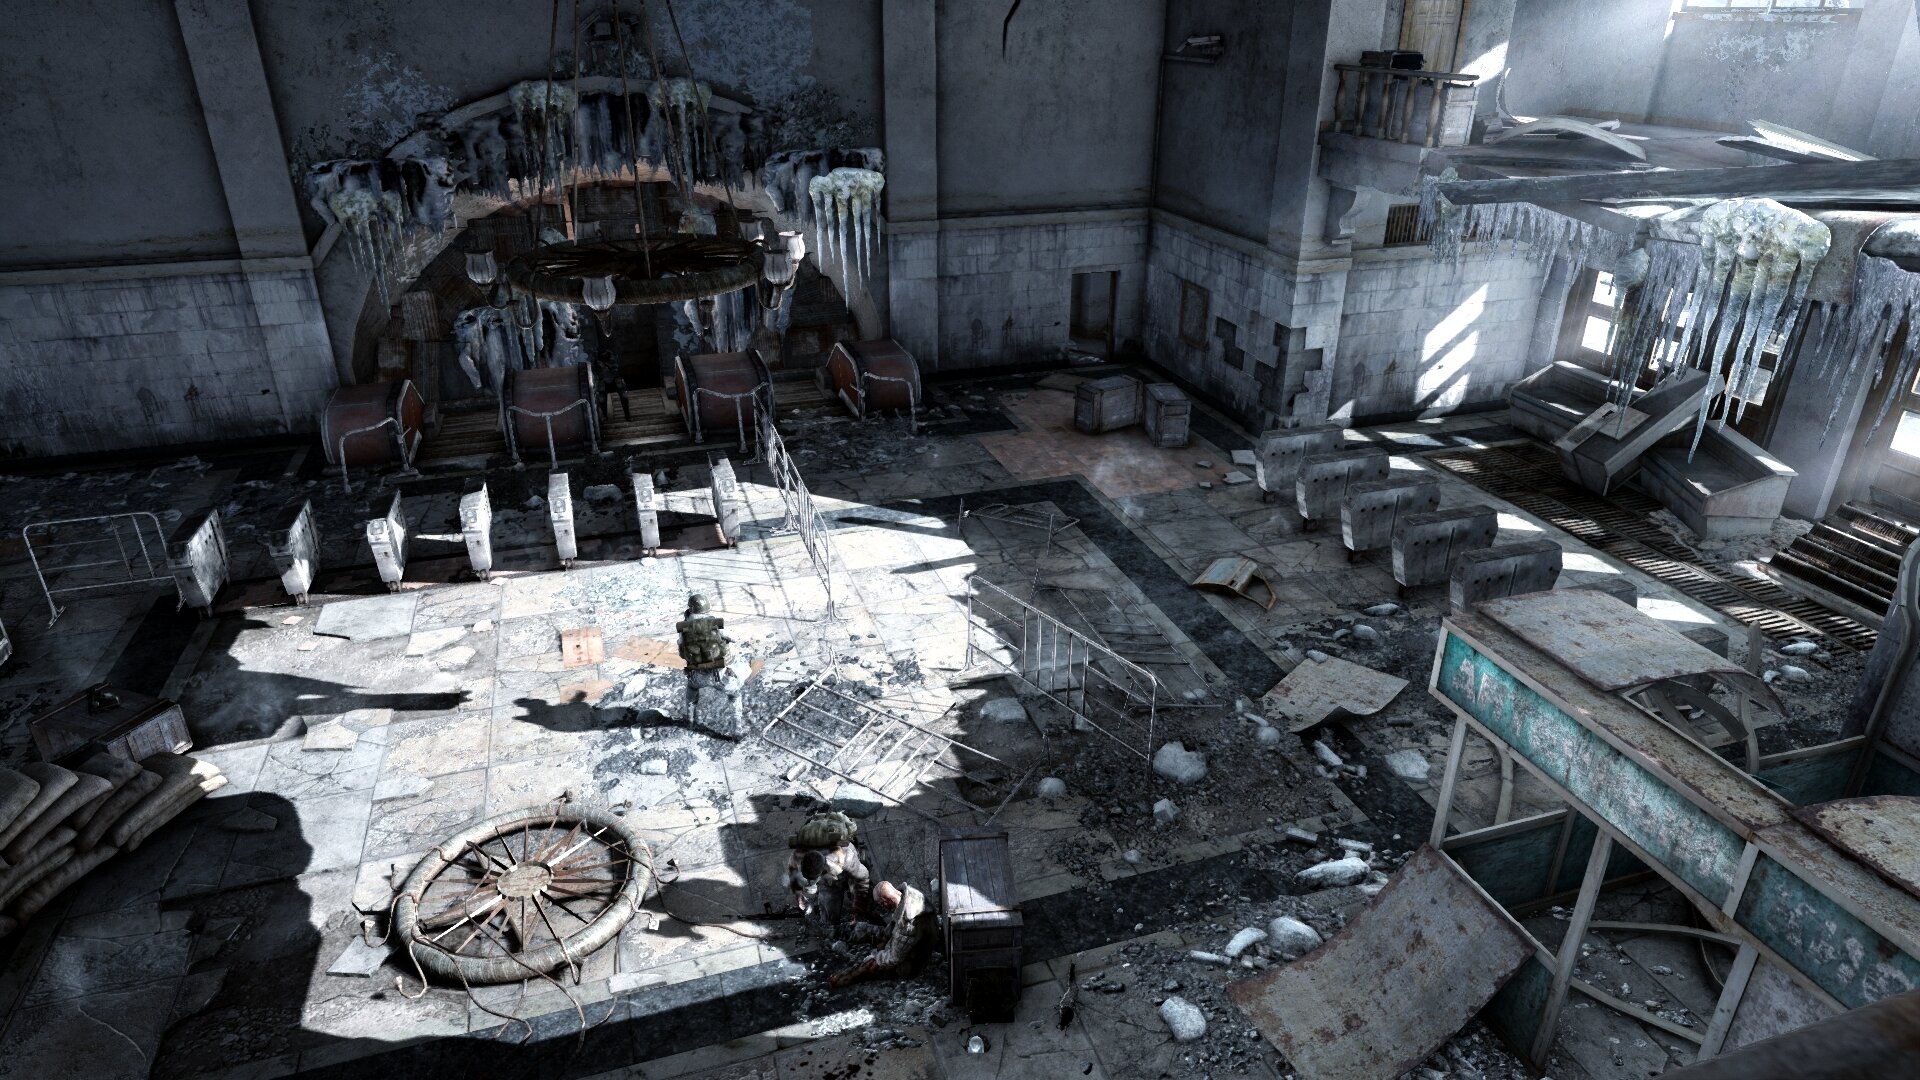
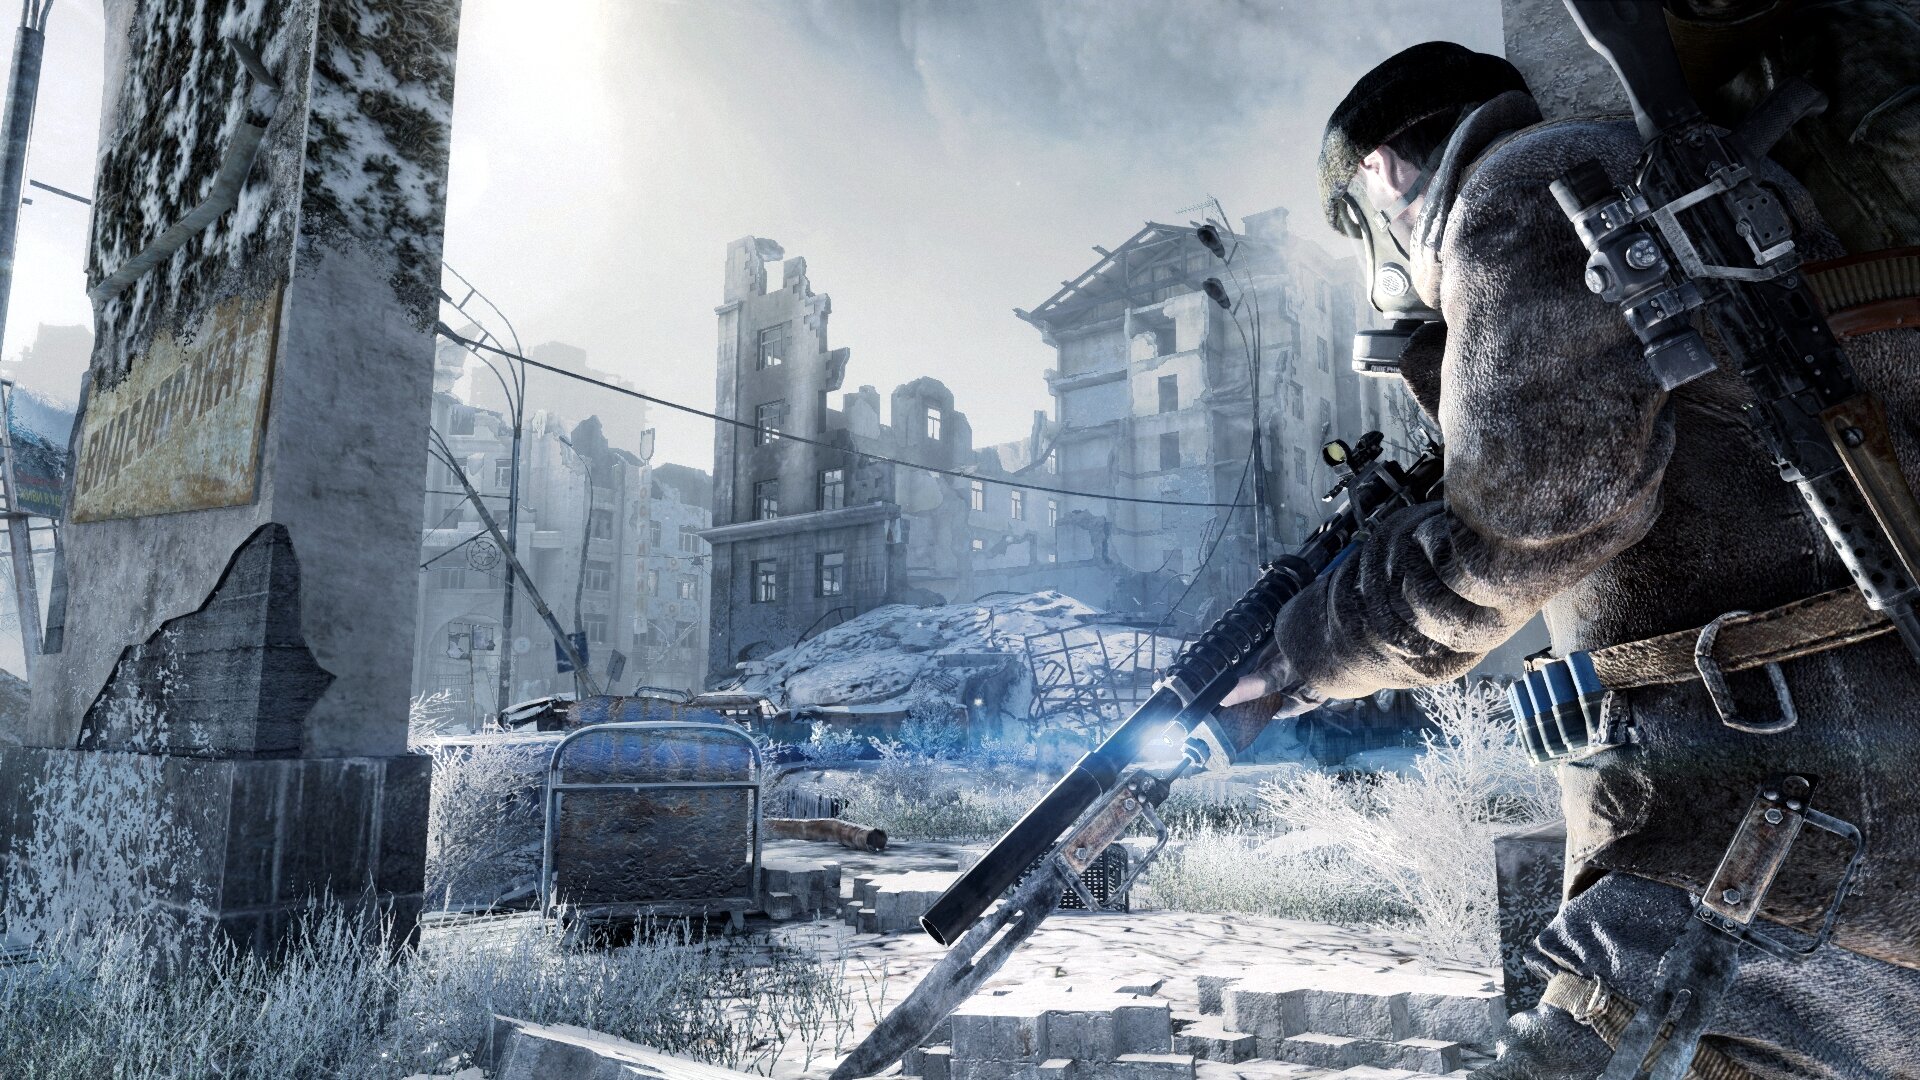
We’re happy to let you know that the Metro Exodus PC Enhanced Edition is now released, bringing on board incredible improvements for Ray Tracing-capable GPUs, including Field of View options, DLSS 2.0, and much more. It is also a free entitlement to current owners – as it is so extensive we couldn’t deliver it as a patch. The game is available on Steam, Epic Games Store, GOG, and Microsoft Store. Check out the specs below.
Also, the much-awaited Metro Exodus next gen consoles upgrade is out now as well. Check out our deep-dive technical blog on the processes, approaches, and innovations we advanced to bring this upgrade to life!

METRO EXODUS PC ENHANCED FEATURES
Metro Exodus PC Enhanced Edition brings a number of updates to the Ray Tracing implementation seen in the initial PC release of Metro Exodus and its subsequent DLCs. We have continued to focus heavily on improving our Ray Traced Global Illumination (RTGI) system with new features. For PC, we have also laid the groundwork for our implementation of specular Raytraced Reflections (RTR) to complement the existing Screen-Space Reflection (SSR) system.
BACKGROUND
In order to explain these new features in detail, it is necessary to first review how the original RTGI implementation worked at launch, and for that we will need to go much further back into gaming history, to establish a few basic points about traditional game lighting in general.
In general, in this first section, we will be discussing rendering technologies from long before Ray Tracing hardware (and by extension real-time Ray Tracing itself) became available to us. Let us start, however, with a definition of Ray Tracing so as to be a bit more specific about what exactly we are referring to.
A “Ray” is a straight line in 3D space. Light travels in straight lines until it hits something, this is why we have the term light rays. You can demonstrate this to yourself with a simple laser pointer.
A “Trace”, in this context, is a type of search. Scenes in video games are comprised of many triangles (polygons) located arbitrarily throughout a 3D environment. The search, in this case, is searching for which polygon that each ray intersects with. In other words, while processing each pixel you may wish to search through a very large data set (the full collection of polygons comprising the scene’s geometry) to determine which of these many triangles to do further processing on.
Therefore, a “Raytrace” should be thought of as sorting through the scene’s geometry data to find which polygons lay in the path of a specific light ray. The closest of those polygons to the origin of the ray will be the surface that the light ray illuminates. We will sometimes refer to this process as “sampling” the environment because it can be thought of loosely as going out and searching for a piece of the game world to take a sample of.
Ray Tracing is an expensive process (even now) but in the times before Ray Tracing there was another, cheaper industry standard rendering process known as rasterization. Rasterization is a more efficient method of determining which polygon a “ray” intersects, but it is limited to the rays which correspond to on-screen pixels with their origin at the in-game camera, rather than to any arbitrary ray anywhere in the game world. Rasterization can really be thought of as just drawing individual triangles to the screen and doing further processing on whichever pixels they cover. The underlying concept of a ray, while still in there somewhere, is pretty much ignored. Suffice to say, by limiting the scope of what the technique aimed to achieve, rasterization made 3D rendering available to a much earlier class of hardware. Rasterization may have been limited in scope, but it has formed the backbone of 3D rendering for decades and is a key component of all of the technologies discussed here.
Some of the very first attempts to render lighting in 3D games, from all the way back in the mid-to-late 1990s, used single point-like (or even just directional) light sources. Their interactions with the rasterized polygons were modelled analytically. That is to say that collectively, all of the rays of light given off by a particular light source were bundled together and approximated using a single equation: a lighting equation. This equation would specify how much light arrived at one of the rendered polygons depending on how that polygon was orientated toward the light source.
These first lights used a very simple version of the lighting equation referred to as “N-dot-L lighting”: The inner product of the surface normal (the direction the surface is facing) and the direction of the incident light ray. To simplify, the N-dot-L equation expresses mathematically the basic notion that as an object turns, orienting itself toward the direction that the light rays are coming from, it will grow brighter, and that it will grow dimmer as it turns away. While crude we will see that such simple equations still have a use in performing quick calculations where detail and accuracy are unimportant.
In these early days (of real-time 3D graphics) graphics cards such as the original GeForce 256 or the Riva TNT featured specialised, fixed-function hardware, which would run this simple equation for a handful of individual light sources. This function and others like it approximate the behaviour of large numbers of rays and so it is fair to say that a vague concept of a ray was conceptually baked into the process even then, but it came with some serious limitations. One was that the rays connecting the pixels being rendered and the light sources were simply assumed to exist, rather than being sampled in real-time as we do now. The other issue was that due to its analytical nature, the whole process was intrinsically tied to specific light sources and any surface they interacted with directly. Another way to put that is that only the surfaces that are affected directly by the light source are illuminated (Direct Illumination), because only the behaviour of those initial rays can be generalised by such equations. It may help to think of this as only working for the polygons that would be directly visible to the light source itself. This second limitation is perhaps the most important and is at the very heart of all Global Illumination (GI) systems.
As graphics hardware improved and introduced programmable shaders, the equations become more detailed. Physically Based Rendering (PBR) techniques introduced more sophisticated lighting equations: Blinn-Phong, GGX, equations which are too complex fully detail in this discussion and certainly longer than their own names. These were equations included terms for attenuation (falloff in light intensity with distance and medium), occlusion (whether or not a ray of light actually reaches a surface), materials (how light interacts with different surfaces), and bi-directional scattering functionality (how light reflects differently both when viewed at and when striking a surface at different angles); and were designed to take account of the physical laws of conservation of energy (key to the accurate modelling of physical systems). Deferred rendering (another important advancement enabled by programmable shading) allowed for dramatically more of these lights in the scene by pre-calculating and caching large parts of these equations such as surface the position, orientation, and material settings or rasterized polygons.
This was the era which saw the launch of the original Metro 2033, which was built on an engine designed from the ground up to take advantage of the growing set programmable graphics features available on cards such as those of the GeForce 8 Series and beyond. While these times saw great strides in real-time lighting fidelity, lighting equations were still only concerned with that first, direct line-of-sight interaction. Fundamentally they were (and still are) tied to the assumption that they are describing what happens to the rays of light that travel directly from a light source to the surface we are evaluating. This is where they all, inevitably, hit their limit.
For this first direct interaction, at least, the equations have been refined to the point where they now behave very realistically. Metro Exodus was built targeting the last generation of NVIDA GTX cards to look closer to photoreal than anything we had ever done before. And at this point, the direct illumination of surfaces was extremely close to physically accurate. In nature however, light is not made of point light sources and the paths taken by rays of light do not simply stop when they first intersect with a surface. Some do, but most do not. If they did, we would have some serious problems: we would never actually be able to see anything since no rays would ever be reflected into our eyes or our cameras. Rays in the real world reflect (or bounce) off of many different surfaces, performing complex interactions at each step, before some of them are eventually absorbed (or “seen”). The hardware features that became available to us with the advent of the RTX era would afford us the opportunity of being able to model these phenomena in new and more accurate ways than we could possibly have hoped for just a few years ago (at time of writing in 2021).
RAY TRACING
The key observation here is that when rays of light illuminate a diffuse (rough) surface directly from a light source, many of those rays of light will be “scattered”: bounce off the surface at some random angle in a random direction. That scattering process is too complex and incoherent for its results to be generalized by a single equation. When those scattered rays of light, now travelling outwards from that initial diffuse surface in random directions, find their way to a second surface they will illuminate that surface in turn. It would be reasonable now to start thinking of the first surface (the last point of interaction) as an independent light source in its own right, starting the process over again. In principle, this process would continue on recursively: each bounce that illuminates a surface adds its own information to the light’s colour and intensity, and then becomes the origin point for the next step along the light ray’s path. Eventually, after many such interactions, this results in countlessly many small light sources illuminating the scene from all directions instead of just a few lone, point sources. Modelling this phenomenon is the definition of Global Illumination (GI) algorithms, and by extension our Ray Traced Global Illumination (RTGI) implementation.
When we say that Ray Tracing is an expensive process, we mean that it takes a lot of GPU operations to even trace a single ray. Internally, the trace involves searching through much of the scene’s geometry to determine which (if any) polygon the ray intersects first. The industry standards for Ray Tracing Application Programming Interfaces (APIs) include data structures designed to optimize this search known as Bounding Volume Hierarchies (BVHs), and modern GPUs such as those of the NVIDIA RTX Series have specialized hardware to accelerate the specific mathematical operations involved in testing for these intersections. Even so, tracing even a single ray is still a computationally intensive process, and we may need to trace millions of them for the desired effect to be realised. So, we still need to use them sparingly, and only in the places where they are most needed.
Note that there is a specific, definitional difference between Ray Tracing and Path Tracing: a Raytrace performs the calculations required for a single one of these interactions. It is the process of transporting light from a light source or a point of scattering, to an illuminated surface. It is one part of this recursive process of rays interacting with surfaces and then bouncing off into the environment to find other surfaces to interact with. Path Tracing is the result of all of these steps combined, detailing the full path taken by the light, over the course of many bounces, from its source to the point where it is absorbed by the camera.
As mentioned, there already existed excellent analytical methods for determining direct illumination: anything from N-dot-L all the way up to the detailed PBR lighting equations. We also have a nice fast method for determining which rays are scattered from objects into the camera. That was the entire point of rasterization: when you render a triangle onto the screen, the pixels covered by that triangle literally define the rays connecting that triangle to the camera, with the depth buffer handling the occlusion and sorting the process for us. So, we have always had an efficient mean of skipping that final step of the path-trace. What we didn’t have was an effective mean of calculating the paths taken by rays of light after they have scattered from this first interaction or what their subsequent contributions to the scene’s GI term were. Essentially, we had the first and last steps, or the paths which bounce directly from the light into the camera, but no real means of processing all the other details from the rest of the environment.
When Metro Exodus launched on PC, we did approximate the GI term with a voxel grid, which transported lighting data from a reflective shadow map, but it was very coarse and only available close to the camera. We operated with what we had. The objective of RTGI is to make it so that we can accurately model these other, intermediate lighting interactions, as they scatter off of directly illuminated surfaces.
RTGI
In its first incarnation, our implementation of RTGI only concerned itself with the secondary interactions of sunlight as it was scattered by scene geometry. This allowed us to establish the Ray Tracing process in the engine, at a minimal (although admittedly still considerable) cost to performance, while still applying the effect to the scene’s most important contributor of direct illumination.
At this point, it is important to take note of a rather strange property of path-tracers and that is that while, in nature, light propagates forward from the light source, bouncing off of surfaces on its path towards our detectors; in our implementation we do things in reverse. We trace the path of light backwards from the camera to the source where it was originally emitted.
When we render a surface using the standard rasterization process, we generate a position in 3D space and surface normal (the direction the surface is facing). Yes, we are still using rasterization to determine the primary rays cast outward from the camera. If a technique is shown to work well within certain limits, then we will continue to use it within those limits. Incidentally, systems which use a combination of raytraced and rasterized rays like this are known as hybrid renderers. The rasterized positions and normals would have originally been fed into the lighting equation to generate a result for the direct illumination of that surface. We also still do that part. We still want to take advantage of the speed and accuracy it affords us in the circumstances it was designed for. What has changed is that we have started to also use those positions and surface normal values to generate a diffuse sampling ray: a ray which scatters off of the surface and goes on to probe the environment for lighting information. Light provided by these rays is called indirect illumination as opposed to direct illumination provided by the original, analytical light source. The rasterized geometry actually represents the last point light interacts with before reaching the camera, so, working backwards along the light path, the place where this generated ray lands must represent the penultimate one.
This is key to the whole process: when we have established where that penultimate ray of light came from, we can determine its colour and intensity and then use it similarly to how we use other standard direct light sources. Strictly speaking, we are trying to gather all of the light reaching that point from all directions, which is then passed on along the ray, so it is more like a very coarse reflective cube-map. Ultimately though, the question we must ask is, how do we determine the colour and intensity of the light at that point?
The answer to that question, for our implementation, is that we treat the point as if it was a rendered pixel, just like any other pixel we would have previously rendered to the screen. Since a pixel rendered to the screen can be thought of as the origin of a ray of light bouncing into the camera, an arbitrary point, somewhere out there in the scene, can be thought of as the origin of a ray of light shining onto that rendered pixel. Because they are equivalent, we can, in principle, use the same process for illuminating them both, and so can draw on decades of established rendering technology to find the most appropriate analytical solution from one of our standard equations. Really, we are just noting that, just like a pixel can be directly illuminated, one of these ray origins can also be directly illuminated and then pass the result onto the pixel as additional indirect illumination. Later, it would become necessary to ask, what happens, if we also apply indirect illumination to the rays themselves, but this first step was enough for our initial implementation.
For diffuse RTGI we don’t need to use the most accurate lighting equations we have available. Our eyes are much worse at gauging the accuracy of the diffuse bounce light than the light which comes directly at us. Rays entering the camera are aligned and so from a coherent image, scattered rays are not. It would be like (and in some cases literally is) trying to see a reflection in a brick wall: you can determine the colour of the incoming (incident) light but very little else. All of the fine detail generated by PBR lighting models would be lost as the rays of light scatter randomly. So, for this purpose (direct illumination of the ray origin), N-dot-L will suffice. Think of it as getting away with rendering these diffuse bounce surfaces at a cheaper, lower level of detail because they are not directly visible to the camera.
For this first iteration then, the lighting pipeline used to illuminate the origin points of these diffuse bounce rays consisted of a single N-dot-L light source (the sun) and an area light term for the sky (basically, sampling the skybox texture). This simple method provided the enough (and accurate enough) information to act as the additional indirect environmental lighting required by GI. This process was repeated for every pixel on the screen which had position and normal data from the rasterized geometry: one indirect light source for every pixel in the image. By gathering this large set of random lighting samples, we are able to go on and analyse the data and turn it into something that can be used to actually light the final image.
DENOISING FILTERS
Ray Tracing may get its name from the process involved in gathering that set of data, but in many ways what you do with that data, how you process it to yield useful information is just as (if not more) important. The millions of rays cast, to generate those millions of tiny input light sources, are still far fewer than the trillions or more you would expect in nature. So, the raw generated data set actually looks rather noisy at this point. That is to say that it looks exactly like what it is, a random collection of separate points of light rather than the smooth, continuous, natural lighting effect we are a looking for.
A stochastic approach needs to be taken to analyse and refine our data into something that looks more realistic. Stochastic analysis deals with drawing conclusions based on statistical data drawn from randomly distributed data sets. We have a randomly distributed data set: our set of random points of light. The conclusions we intend to draw are along the lines of, what sort of lighting phenomena are these samples indicative of? The final step before the lighting data is applied to the scene is therefore to process this data using a series of what are known as denoising filters.
In conjunction with engineers at NVIDIA, we have developed our own series of denoising filters which take the input lighting data set, apply smart blurs and statistical analysis to average out the signal noise, and generate as output a structured, smoothed out, and more natural looking data set. This output data set consists of a collection of spherical harmonics. Spherical harmonics (SM) are entirely virtual mathematical objects (we are not literally placing coloured spheres in the world), but they have powerful applications which can be of use to us here. A spherical harmonic consists of a series of parameters which define how some property changes across the surface of a sphere. In this case, we are encoding luminance and chrominance data: brightness and colour. The spherical harmonic (or specifically these ones used to encode colour data) will often present as a colour gradient across that sphere around some major axis. For a loose visual analogy, think of the smooth bands of colour on some giant gas planet wrapping around its axis of rotation. The colour gradient we get out at the end encodes a very coarse, low-detail reflection cube-map like those which would once have been hand placed by artists. The axis encodes a primary directionality for the incident rays (rays of light travelling towards the rendered pixel) and so can be used to later reconstruct a coarse approximation of specular reflections without having to expend additional rays.


THE TIME COST
No feature comes for free of course, and so, as with all rendering features the Ray Tracing pass and the denoising passes came with an associated time cost. However, we were able to offset that cost somewhat by removing some other features that were now entirely redundant. Screen Space Ambient Occlusion (SSAO), an approximation of the shadows cast by these many small lights, was the first to go. With those additional indirect lights now actually available to us, those shadows formed naturally as a feature of the overarching technique. Similarly, any legacy GI approximation terms were no longer required: this system is their direct successor after all. There is one more very important thing that would ultimately be able to be discarded, but that would have to wait until the implementation of certain Metro Exodus PC Enhanced Edition features.
PATH TRACING
With an understanding of how the engine stood at the time of the original launch of Metro Exodus, we can now begin to detail the improvements made for the release of the Metro Exodus PC Enhanced Edition. The underlying principles of how we do Ray Tracing remain the same: we use each ray as a mean of sampling the environment and generating light sources (in the form of coarse, per-pixel reflection maps) at the closest intersection point. What has changed greatly is the way we handle the illumination of that point, and so how we generate a colour and intensity values for bounce lighting.
Originally, we used a single light source for creating these bounce light sources: the sun. It would be fair therefore to suggest that, for every pixel, we had one additional light source contributing to the global illumination. You could maybe say two, if you include sampling the sky texture since the sky is really one large area light source.
We have extended this raytraced lighting pipeline to much more closely resemble the deferred lighting pipeline used for direct illumination of on-screen pixels. We now allow for up to 256 analytic lights sources to contribute to each sample, meaning that for every pixel we can now have up to 256 light sources, in addition to the sun and the sky, all adding information to the RTGI term. These can all be spot or radial lights, each with their own shadow map to provide accurate secondary occlusion. They use the N-dot-L equation plus inverse square falloff to determine intensity, but that really is accurate enough for these indirect, diffuse situations. As an optimisation, to help cull as many lights as possible in areas where they have no effect, we partition our scenes using a world-space grid. In each grid cell (called a cluster), we simply list all of the light that are in range and might affect geometry in that location. This system is almost identical to the screen-space light clustering system we use for culling lights in our deferred renderer except that we divide up the game world rather than the screen.
Sampled surfaces require very little in the way of fine detail. Light rays are not scattered off of them in a coherent fashion. It is more of a soft haze of random data points. For this reason, their materials consist of a block, average colour for each object in the scene. We even avoid loading textures to reduce memory bandwidth pressure. Using simplified materials like this greatly optimizes the illumination process not unlike using a simplified lighting model does. As of the release of the DLC packs though, we allowed surfaces to also have emissive materials. This means that when they are sampled, the surface itself contributes some amount of light to the amount reflected. In effect that surface is then a large area light source in its own right. This feature allows for extremely soft and physically accurate direct shadowing from area light sources, which was impossible to achieve through analytical methods and shadow mapping alone.
So, now we have the sun, the sky, emissive geometry, and up to 256 analytical lights, all potentially contributing to each sample and thus encoded into each pixel. There is one more feature required to truly make this a path-tracer though. We use these raytraced light sources to indirectly illuminate the on-screen pixels, but we should also (realistically) be using a second set of raytraced light sources to indirectly illuminate those as well. We should also be using a third set to illuminate them and so on until the end of the chain where the original photons are emitted. This would actually map the entire path taken by the light. This would also require exponentially more raytrace operations, if we wanted to perform the whole process in a single frame. Instead, we have introduced a raytraced probe grid as part of a system known as Dynamic Diffuse Global Illumination (DDGI). It is based heavily on and indeed uses much of the same shader technology as NVIDIA’s RTXGI SDK. These technologies act as an approximate GI term that can be added to the RTGI light sources themselves.
DDGI
Dynamic Diffuse Global Illumination (DDGI) models the additional interactions from the second bounce of light on to infinity. It does this by sampling and caching a number of rays each frame into a world-space grid of light probes. It uses the same ray generation and illumination techniques as all of our other diffuse rays: cast a ray into the scene, illuminate the intersection point with our raytrace lighting pipeline and use that point as a new incidental light source. Reading from this DDGI grid when illuminating our diffuse rays provides those rays with their own GI term: it adds in a term for indirect illumination. If those rays are being cast as part of the process of generating the DDGI grid, then we sample the grid from the previous frame. By having DDGI sample the DDGI term from the previous frame, we are able to accumulate the information it contains over time, simulating the effect of rays bouncing recursively around the environment. These additional rays diminish in importance the more they bounce, and the more they are absorbed and attenuated by various surfaces, but the effect still adds a small and noticeable lift to dark parts of the scene that light would not normally penetrate to with just a single bounce.


RAYTRACED REFLECTIONS
For PC, we have implemented specular Raytraced Reflections (RTR). These are intended to create mirror-like reflections on highly glossy surfaces. To a certain extent, we are able to reconstruct some specular detail from the denoising process, but these raytraced reflections are for when a surface becomes reflective enough that fine detail becomes important. They require an additional set of rays to be cast. These rays are generated by reversing the view direction about the reflective object’s surface normal, mimicking the behaviour of light rays reflected off of a mirror, rather than scattering randomly away from the surface as with diffuse rays. Since new rays must be cast, they come at a considerable additional cost, so we only cast them when absolutely necessary.
There is already a Screen-Space Reflection (SSR) system available in the engine that gives reasonably accurate reflections by sampling the previous frames final rendered image directly. SSR has its limits though. There is often no information available for certain background objects, nor for any of the pixels which try to reflect information which is outside the boundary of the screen. We use RTR to fill these gaps where SSR fails. At present, our RTR implementation uses the same, low level of detail, material system as the diffuse Ray Tracing pipeline, but it uses the higher quality PBR lighting model to accurately reflect data from analytic light sources. What it does do is allow us to guarantee that we have some degree of reflection data for every reflective surface in the game world.
With the introduction of raytraced reflections, we no longer need to rely on static, Image-Based Lights (IBLs), also known as reflective textures or cube-maps, to provide additional reflection data. We are automatically generating an analogue of them for each pixel for the diffuse data now, but they were also used to pre-render images containing high-detail reflection data (albeit reflections that rarely managed to coincide with the actual location of the reflective surface). By removing these, we were finally able to eliminate one other encumbrance present in more traditional forms of rendering: no longer does any part of our lighting system consist of “baked”, pre-generated data. It can now all be generated in real time.
This actually belies a secret of the games industry, which is that Ray Tracing has actually been used for a very long time to accurately light surfaces. It’s just that the whole process was done offline before launch and that lighting was shipped as a series of textures applied to surfaces when they are rendered. We have always found this to be undesirable for many reasons, not least of which is that the results are completely static and unchanging in the final product. We have always sought real-time alternatives where possible and now we have one.
The significance of this achievement will become more apparent as we go forward from here, but in principle it allows for more dynamic environments and an easier life for those designing those environments. It can potentially eliminate large swathes of texture assets, freeing up memory for other things, and reducing package sizes. Suffice to say that having reached this point we can now see a lot of promise to improve many other areas of the development process.
MORE FEATURES
In addition to the improved Ray Tracing features, the Metro Exodus PC Enhanced Edition also includes support for NVIDIA DLSS 2.0. Internally, we already have a dynamic scaling system which allows us to perform our Ray Tracing step at lower than full-screen resolution and yet still generate an accurate lighting dataset at the end. DLSS allows us to do this for the entire rendering pipeline, rendering at a lower internal resolution and allowing an AI upscaler, powered by the NVIDIA Tensor Cores, to reconstruct the image at full 4K and at considerably higher frame rates. For 9th generation consoles, we have also implemented our own dynamic resolution and temporal upscaling system which maintains high resolution image quality while targeting 60FPS performance.
Also, in our image processing pipeline, we have completely overhauled our denoising filters. Where our previous denoisers used a linear filtering method, blurring the dataset a little bit each frame to gradually converge on an outcome; a non-linear filter now evaluates surrounding pixels to rapidly home in on an estimate for how the pixel should look under natural circumstance without signal noise. The makes the whole process faster and more responsive, able to adapt to rapid changes in the lighting environment. And, because it is less reliant on blurring the image, we are now better able to reconstruct details and in a fraction of the time of previous iterations.
Other supported features include Variable Rate Shading (VRS) for certain elements within the rendering pipeline. This optimizes draw rate performance for transparent effects. And 16bit floating point arithmetic, which has allowed us to a performance boost to many thousands of different shaders throughout the game.

OUR NEXT STEPS
There is still more to do. Implementing a fully-fledged, real-time, path-traced rendering engine has been a learning experience as much as anything. It has opened up new avenues of development to us. It has highlighted areas where we can still improve in our pursuit of ever increasingly photorealistic imagery. We’re proud of what we have accomplished so far and it will be the inspiration for many new features to come as we move forward with future projects.
Stay tuned for a follow-up blog about how we've integrated these updates specifically into Metro Exodus versions for Xbox Series X | S and PlayStation 5 set to release on June 18!
- The 4A Games Team